Installation Guide on ME020: Installation advice
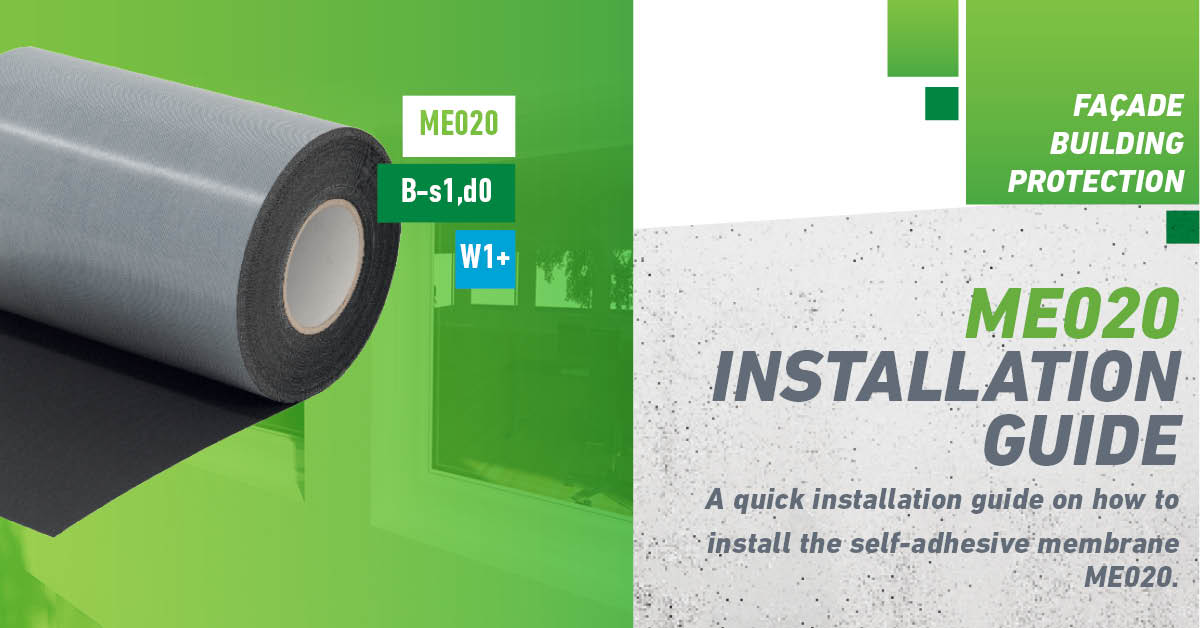
Installation Guide on ME020- The Self-Adhesive Membrane
ME020 is a high-performance self-adhesive fire rated membrane designed to installers a fast, clean and reliable method of sealing window and door openings. Because it bonds directly without the need for additional wet-applied adhesives, ME020 offers a simple, controlled installation, reducing mess, saving time on site, and ensuring a consistent airtight and weathertight seal.
This guide provides a clear overview of the correct installation method. Always use it alongside the relevant Technical Data Sheets, Safety Data Sheets, and any project-specific method statements. Here is our quick technical guide on how to correctly install ME020.
Before Installing ME020
- Make sure all surfaces are clean, dry, dust-free, and not contaminated.
- Any leftover silicone or fire compound on the sheathing board must be mechanically removed.
- If silicone is present in joints, apply ME901/ME902 Primer before installing.
- Clean the frame using AT200 or mineral spirit.
- ME020 must bond directly to the substrate do not overlap onto façade membranes.
- Minimum bond widths:
- 20–30 mm on the frame
- 50–100 mm on the substrate
1. Install the Membrane at the Sill First
- Measure the sill length: window width + 150 mm extra each side.
- Choose a membrane width that covers support brackets with 50–100 mm return onto the substrate.
- Position centrally; do not remove liner yet.
- Peel back approx. 50 mm of liner and fix the membrane to the frame in a straight, wrinkle-free line.
- Smooth down onto the sheathing board, maintaining a tight 90° fold between the frame and substrate.
- If wrinkles appear, peel back and re-lay as needed.
- Consolidate bonds by hand, then with a seam roller.
- At each end, cut a straight line to form a flap and fold it up onto the jamb; flap must be at least 100 mm.
2. Install the Membranes at the window jambs.
- Measure membrane length: window height + enough excess to overlap the sill membrane. And adding the same excess at the head.
- Position centrally, peel back 50 mm of liner, and bond to the frame, then the substrate.
- Ensure a tight 90° fold and smooth out wrinkles.
- Cut unbonded ends to create flaps that wrap around the sill and head; minimum 100 mm.
- Consolidate all bonds with the roller.
- Repeat the process for the opposite jamb.
3. Install the Membrane at the window head.
- Measure the head length: window width + 150 mm extra each side.
- Apply using the same technique peel 50 mm of liner, bond to frame, then press upwards onto the sheathing board.
- Maintain a tight 90° angle unless insulation causes undulations; if so, create a slight fall to prevent ponding.
- Cut and fold the end flaps around the jambs and sill; minimum 100 mm.
- Consolidate all bonds firmly.
4. Final Checks
- Inspect corners where membranes overlap for small holes or unsealed areas.
- Seal ME020 with a small dab of Illbruck SP025 Fire Membrane Adhesive if required.
- When finished, the membrane should form a continuous picture frame around the entire opening.
For full technical details, performance data, and installation requirements, visit the ME020 product page and download the full ME020 Installer Technical Guide on the Illbruck website. ME020 is the self-adhesive membrane built for your projects, delivering dependable airtightness and weather protection when installed correctly.
If you’d like guidance on how ME020 can be used in your specific project, or need technical support, get in touch with the Illbruck team.